Assembler Online Good Practices
Assembler Online Good Practices consist in some tips that will help users to save time and effort creating material pieces with Assembler Online.
Project Creation Workflow
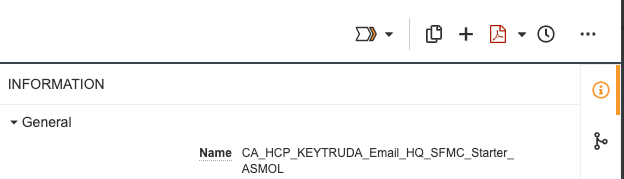
Naming Conventions
Naming a Project correctly ensures users can find the correct template to use for building a promotional piece.
Naming can also be the key in managing filtered views, for example, adding ASMOL in the search bar to only find Assembler Online templates.
The suggested naming formats for templates from Global HQ are as follows:

For final pieces (emails etc), the naming should of course be informative as the above example, but perhaps reflect the name of the campaign.
Completing the Metadata
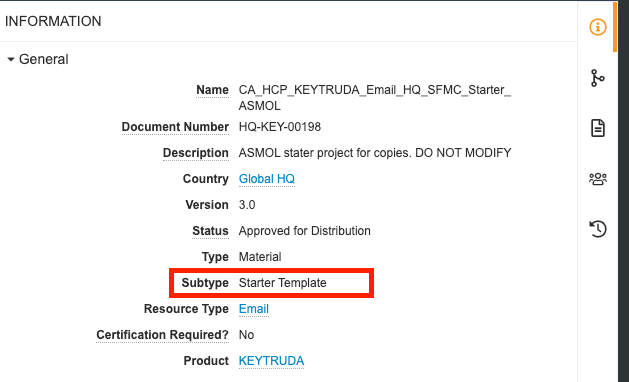
Metadata is crucial in creating a document in PromoMats: it provides detailed information on the promotional piece or template, and it’s the basis of managing and easily finding these materials into the PromoMats Library and Portals, as well as sharing and enabling collaboration with colleagues.
- The Country tag will have to reflect the local market or the cluster/hub
- Type, Subtype and Resource Type will specify the piece’s intent, as well as defining where the piece will show when it’s published in a portal.
- Product, should reflect the market’s prefix, for example FR KEYTRUDA would be Keytruda in France.
Reclassifying a piece’s Type and Subtype is extremely important as it affects reporting and portal publication. In the metadata column, click on Reclassify and choose the appropriate option:
- Emails will be Material>Advertisement
- Templates will be Material>Starter Template
- Story Cards will be Material>Story Cards
Tile Elements
Creating a Tile
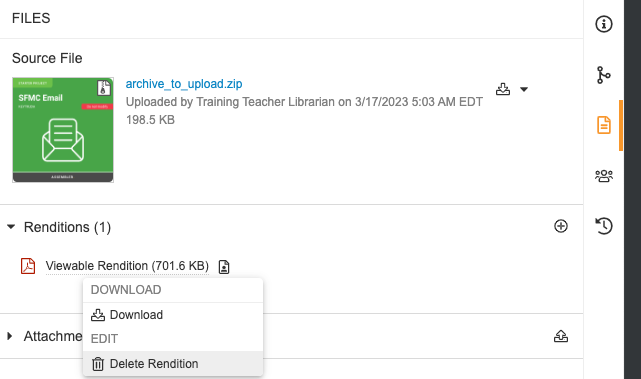
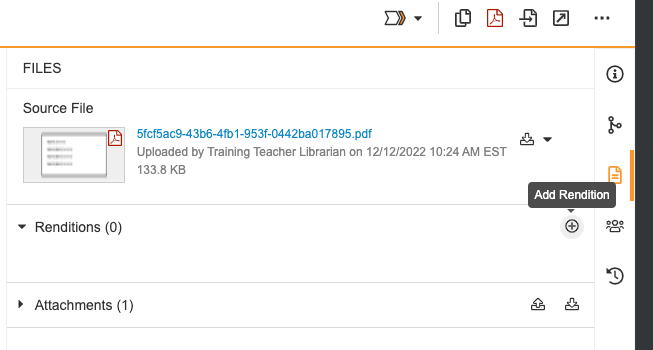
1.Go to a portal and copy a template.
2.Download the PDF in the attachments.
3.When it’s AFP, use Adobe Acrobat or Adobe Reader to:
- Name to reflect brand, channel, campaign etc,
- Include the brand name under the title
- Add your country abbreviation in the globe icon
4.Save the tile with the name you inputted in it
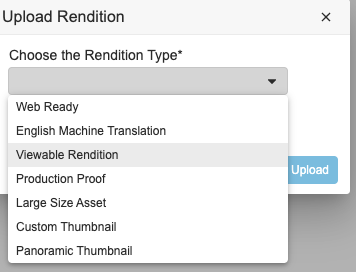
5. In PM, go to renditions, delete the default and load the one we just created

Managing Spaces and Changes
- Layering: Consider the hierarchy of layers shown on the right. First apply changes to the lower levels, such as background colours to sections, and move up by perhaps contrasting colours to layouts and cells.
- Spaces: Using the same concept, we suggest first adding paddings in Layouts, and adjusting spaces in cells where needed First applying changes in layouts will minimize responsiveness problems.
- Alignments: To align, for example, social media icons to the right of the screen, we don’t recommend using paddings but rather setting column widths and using horizontal alignment on the icons.

Understanding Assembler Online
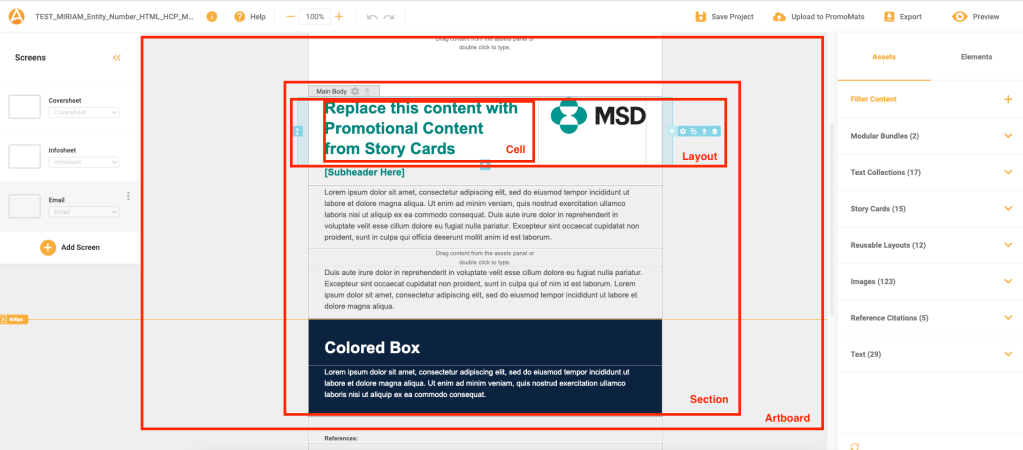
1.The first element in our structure is the artboard. You can use this artboard as a main container for all the information.
2.The second level of information are the sections. Every section has a purpose in the template, but we can adapt those sections to our design.
3.The third level are the layouts. There are always predefined layouts, and of course they can be created from scratch adding or deleting columns.
4.The fourth level are the cells. Cells are where content will be inputted.
5.The firth level are elements such as buttons or spacers that can make a big difference in your design.
6.The last level is your content. The most important point for this layer is to input content that can be adapted personalizing the other last 5 levels.

Components
- Texts from the Assets > Text section are “mutually exclusive” as by dragging and changing one in the artboard will change all other iterations of that component.
- Text Collections are also components and adding a text from one and modifying it doesn’t affect the collection.
- To manage changes in Reusable Layouts, we have the option to overwrite a previously saved RL or save the changes in a new RL.
- Ownership affects components as, generally, only the owner of a component can modify it, whilst other users can simply make a duplicate of it to make changes.
- Of course, also the status of a component affects the ability to edit it, where to edit an approved component, the owner has to revert it to draft, modify it and go through approval again.
