How to create an iPad/Engage meeting presentation
In this video you will learn how to create an iPad Presentation using Assembler Online.
START YOUR IPAD PROJECT CREATION:
Learn more about how to start your Assembler project step by step here
Considerations to keep in mind:
When creating screens on an iPad project, you should keep in mind some good practices so you don’t have malfunctions while using your template. Below, you will find practical tips to avoid future problems with your iPad presentation.
- The title of the slides must NOT contain reserved characters such as ! * ‘ ( ) ; : @ & = + $ , / ? % # [ ]. Learn more here.
- Animations cannot be included in Assembler, they need to be added outside Assembler, in the exported HTML code. This shouldn’t be a problem for the Review process and Approval, as the animations are reviewed in the final functional check on the delivery platform. Keep in mind complex animations are not supported by Veeva CRM Engage meetings.
Specific features for Multichannel Presentations
- Assembler has a function called Reusable Layouts. Navigation bars, as other possible common elements in iPads, can use this feature to avoid to be recreated in each and every screen. An extra benefit is that if need changing, you can decide if applying the change to all screens where used: “update” or to “save a new version”.
Saving a new version: Global may provide inside the template a default Reusable Layout for the top/bottom navigation bars. You can apply the desired change and select “Save a new reusable Layout” from the displayed window to adjust it.
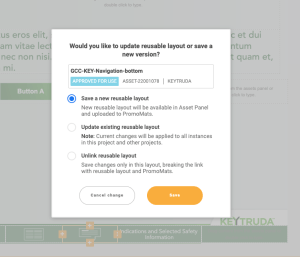
Creating a new navigation menu from scratch:
Use the desired styles and save it as Reusable Layout clicking on the “arrow” icon of the Layout.

See how reusable layouts work here.
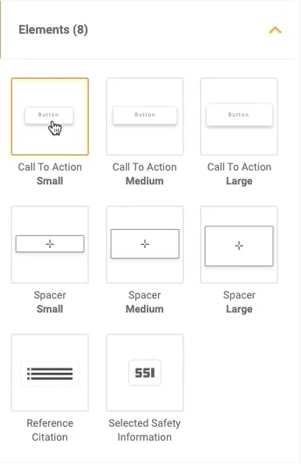
To make the buttons of the navigation menu, you can follow these steps:
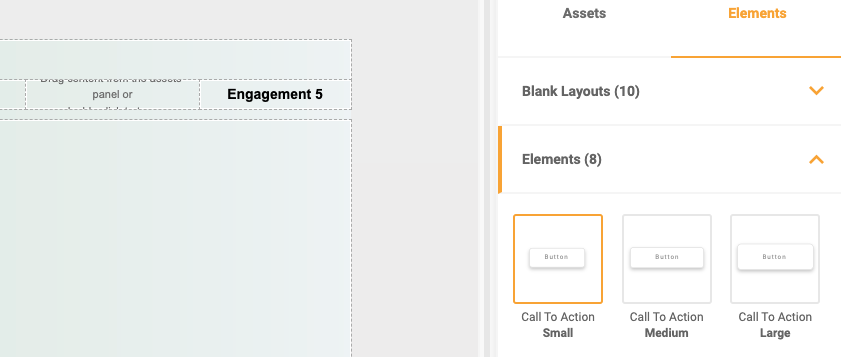
- Make a new cell and drag and drop a button from the elements section:

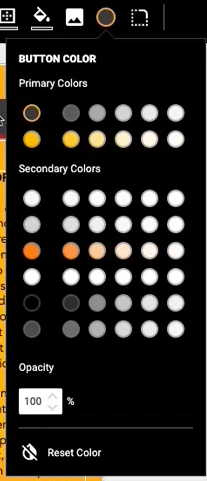
- Then, adjust the color of the button and add the text you want.


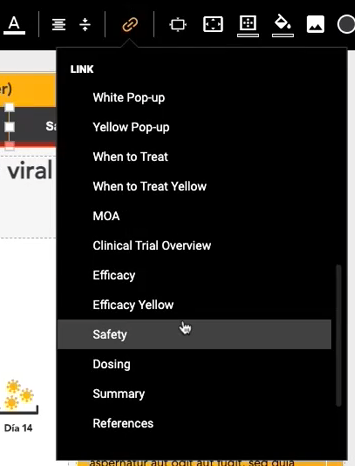
- Link the new section of the menu you have just created by using the link icon and choosing the slide that button will redirect.
Background image
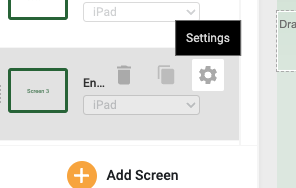
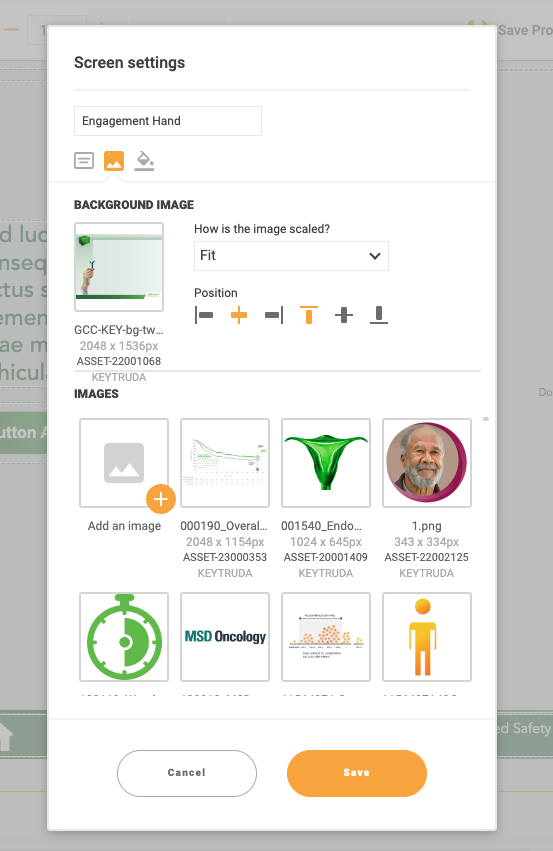
- The background image is a functionality that can be set in the cell, layout, section or screen. To change the background image of the whole screen, go to the Screen Panel. Next to the screen title you will see 3 dots when mousing over, click in the gear icon and a setting window will be shown:
Scrollable layouts
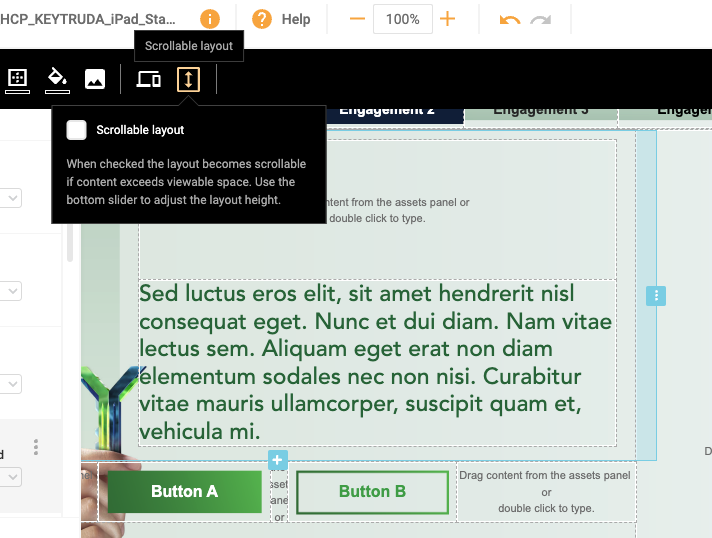
- Scrollable layouts can be set using this option in the top black menu. And you can use the arrow at the bottom to adjust the window height.


Pop ups
- Pop Ups are added as screens and included in the navigation. You can duplicate them and reorder them from the Screen panel using the three dots when mousing over. You also can “Add a screen” and create them from scratch, re-arrange the navigation and add the corresponding navigation to the closing buttons.
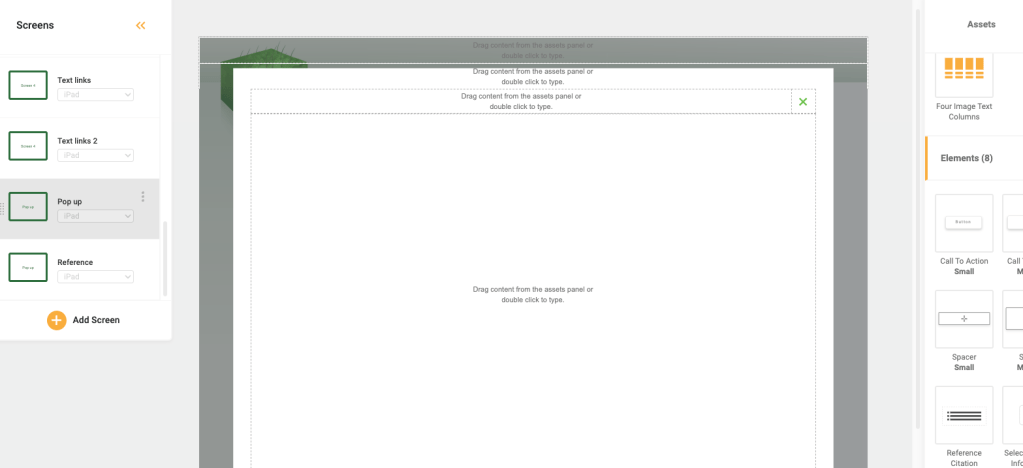

Re-arrange the navigation: click on the button/text/image that you want to add navigation to, for example the “X” image icon for closing. Then add the corresponding link to the specific screen. We recommend you specify the screen when adding navigation to Pop Ups, instead of using Prev. or Next. This way you can always reorder the Pop Up screens keeping the navigation working well.
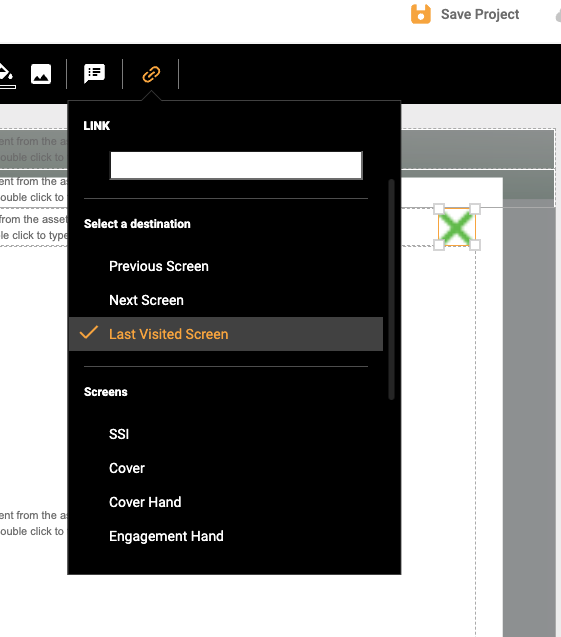

RECOMMENDATIONS FOR POP UP SCREENS NAVIGATION: the medical-legal review team would need to take a look to the Pop Up screens in the communication flow order, however the sales representatives sharing this presentation with Health Care Professionals may need to skip the optional Pop Ups during their meeting. To allow skipping the Pop Ups, when navigating the screens and using swiping, once your iPad Material is in Approved For Production status, Open in Assembler and move all the optional Pop Ups in the last order in your Screen panel. This way, when swiping, the optional Pop Ups will not show, just when clicking in the corresponding Pop Up button they will be opened.
- You can create sub-navigation menus. The only limitation with Assembler is that you cannot create drop down menus. However, keep in mind this is an iPad, not a website. Is better that the Sales Reps always see all the key-engagements.
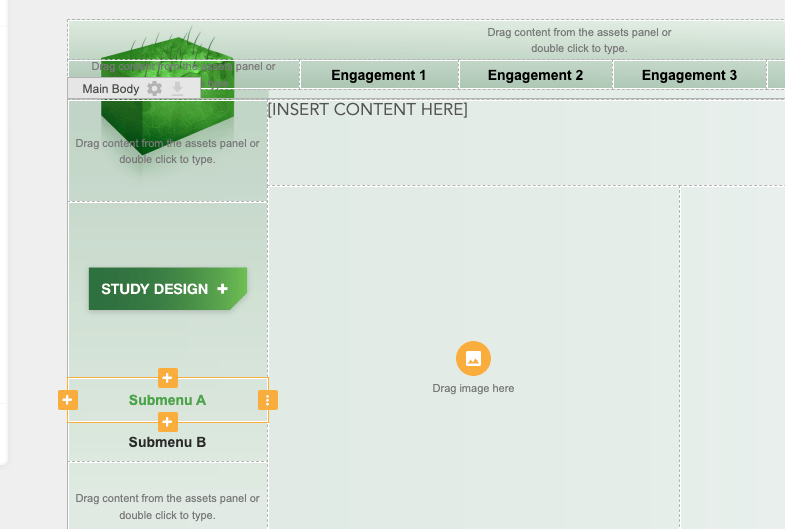


To create your sub-navigation menu: you just need to add a new layout with several columns and style the cells as you want. The key part is to add buttons in each cell (they can be colored or transparent, by editing the opacity button), so that the active clickable area affects the whole cell, and not only the text.
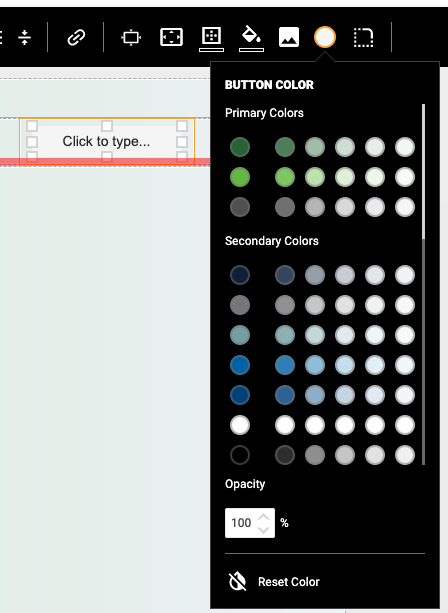
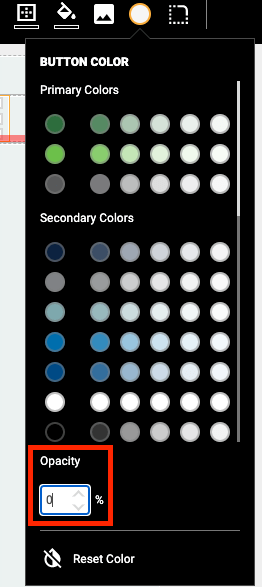
You have in the top black bar all the options and you can use as reference the styles of the nav.
You can give styles to the whole layout, including also background images and colors.
Reference Citation
- Reference citations in Assembler auto-order and auto-number through the whole project. Please just keep in mind to place the Reference Citation summary screen in the last position in your Screen Panel, to allow the auto-function to count all the citations in your job. Learn more about auto-Reference Citations here.
SSI
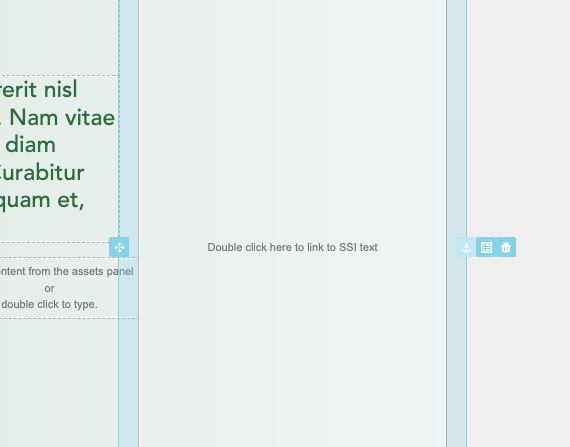
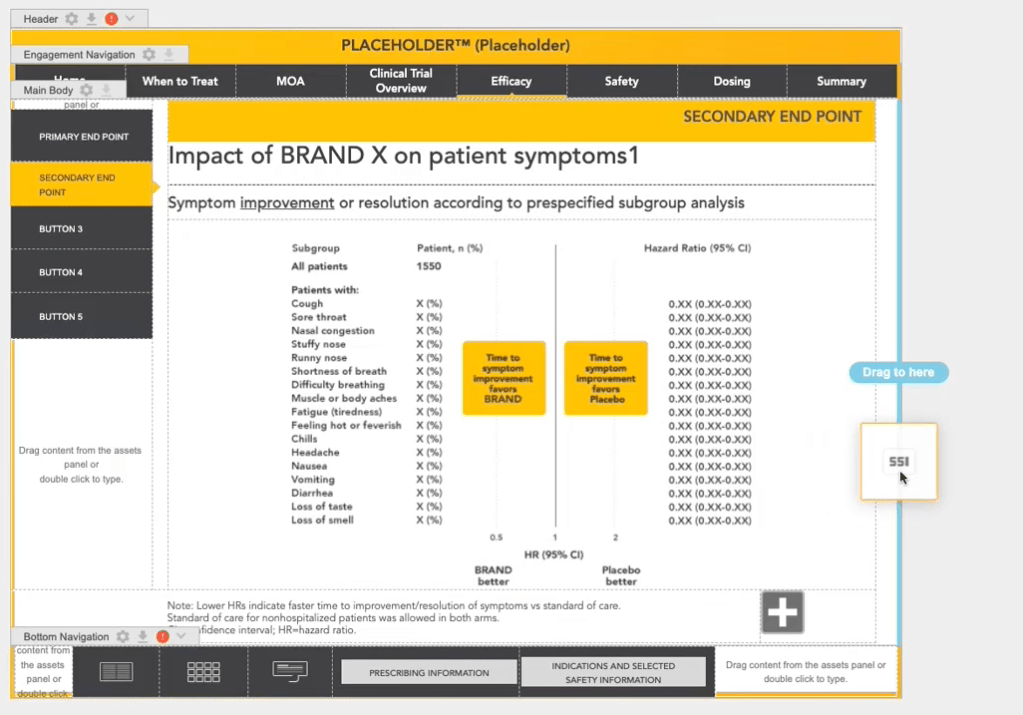
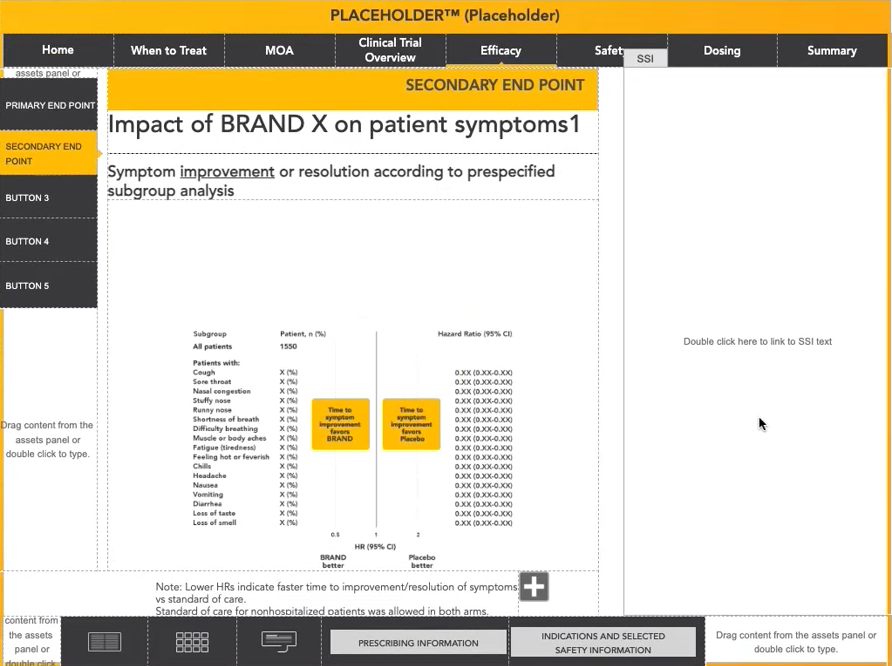
- The SSI layout block, can be placed at the right side or at the bottom of each screen and also they can be removed. Press on the edge of the Layout, until you see a blue box, and click on the bin icon, see image below:
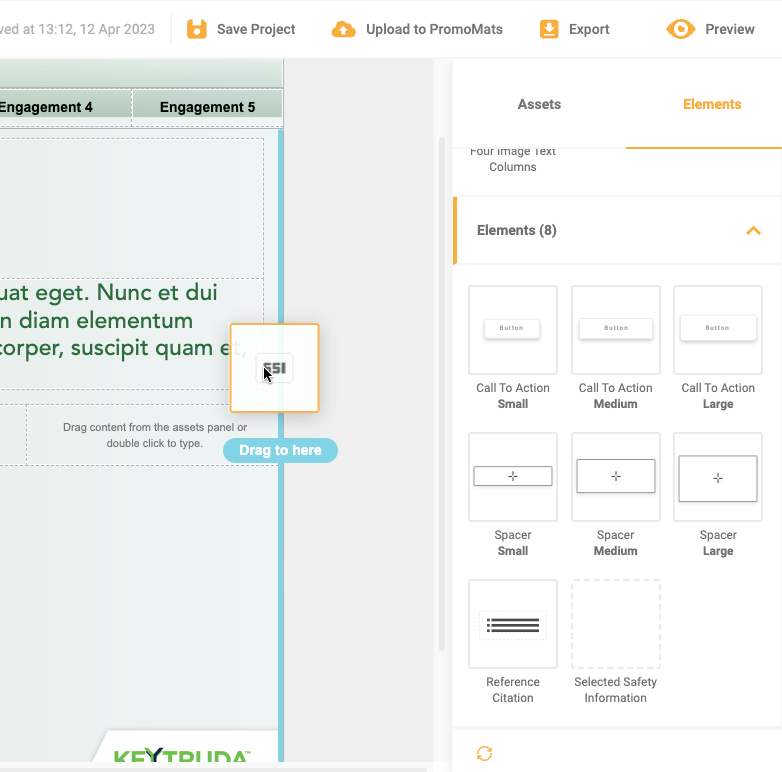
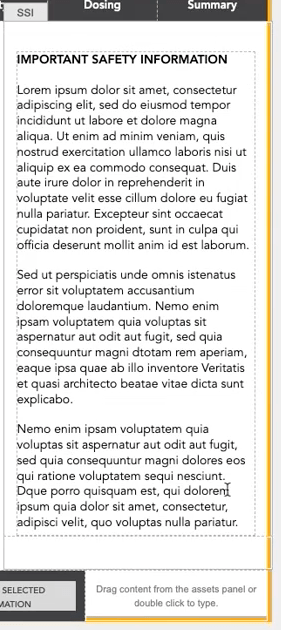
- The SSI screen is by default the last in order in the Screen Panel list. You can make the layout scrollable using the scrollable feature (explained above).
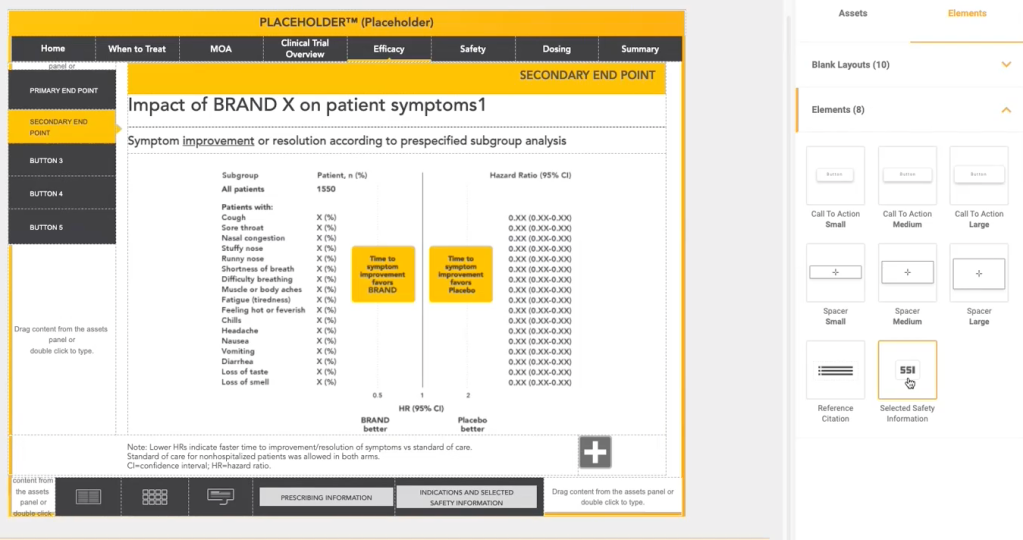
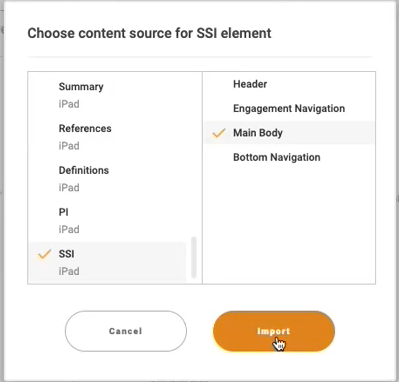
- SSI layout block by default is placed in each screen. It can be easily set mousing over the layout edge and clicking on the “sheet” icon, to indicate the screen and section you want to show the content from. Normally it will be the SSI Screen, Main Body section.


Include videos or related documents
Files living outside Veeva Vault PromoMats.
In a nutshell: To insert videos and PDFs living outside Veeva Vault PromoMats, you will need to modify the shared.zip file by including inside the video or PDF document.
For this action, we recommend generating a specific folder inside the shared folder to divide these related documents to the rest of files.
- Deep-link your file on your Assembler material: Go to the Assembler project, open it and place in the CTA a link with this kind of structure: shared/name_of_the_folder/document_name.type_of_file
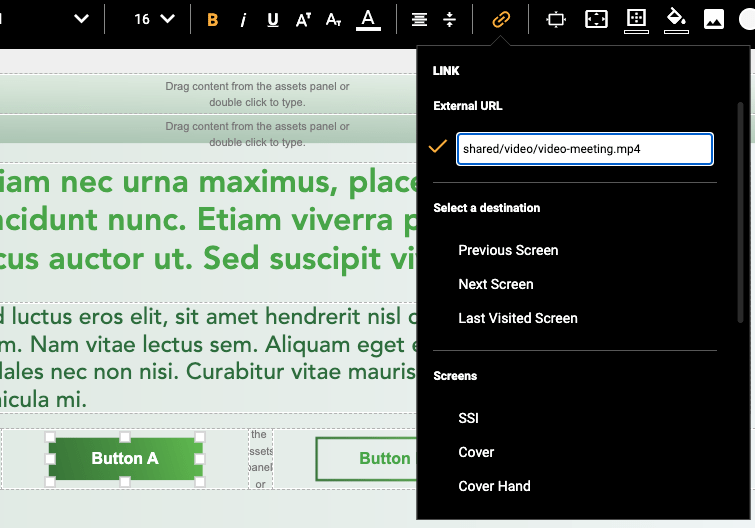
2. Download the source file, and include the file in the shared folder (works as a slide in Veeva Vault PromoMats)

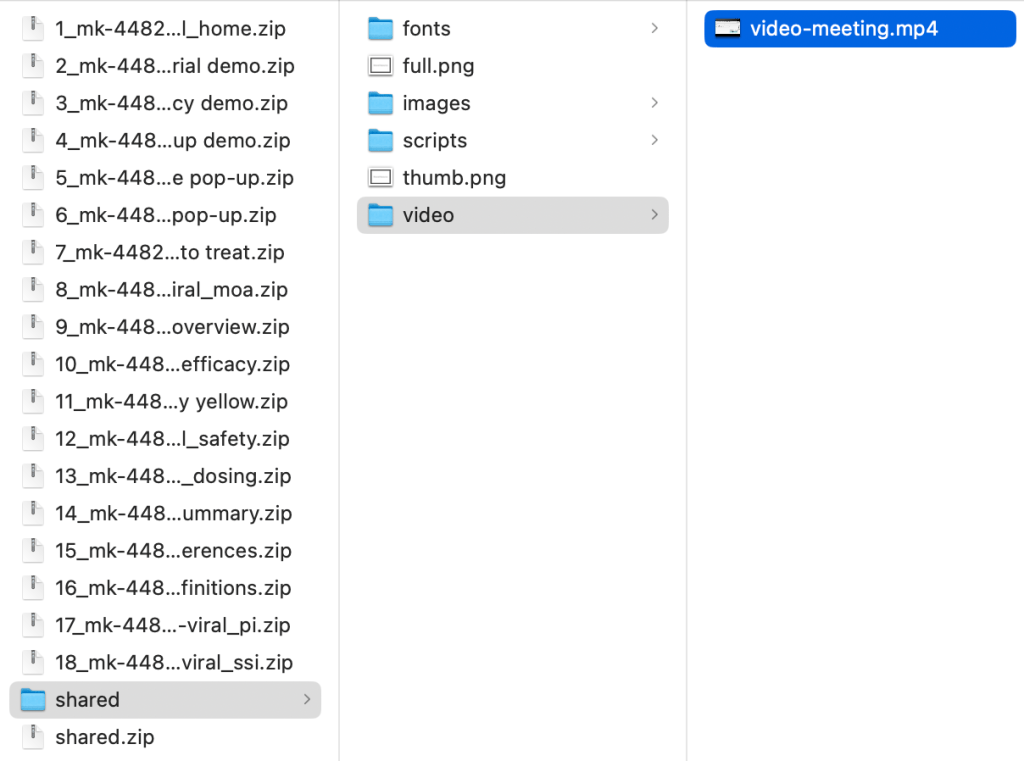
As you see, this follows the structure that was previously mentioned (shared/name_of_the_folder/document_name.type_of_file).
Once this is done, delete the old “share.zip” and compress the “shared” folder into a new zip file.
Check out how to publish and iPad CLM in Veeva CRM in this article.
Files living inside Veeva Vault PromoMats. Documents used in multiple Multichannel Presentations. Supports only PDF.
This method is addressed to those documents that are shared in several multichannel presentations, for example, an SSI document.
- Deep-link your file on your Assembler material: The path of the link must follow this structure: veeva:gotoSlide(nameoftheuploadedzip.zip, nameofthepresentationID). You can see an example on the HTML below.

2. The multichannel Presentation that contains the slide should have the Presentation ID field filled.
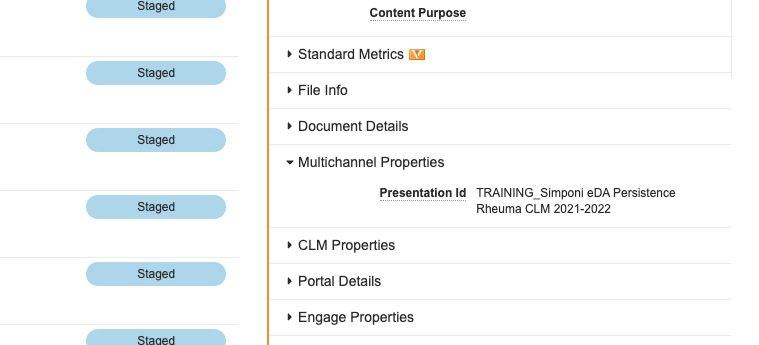
3. This document is included within a slide which can be added in more than one multichannel presentation. You will need to create a zip file and upload it to PromoMats.
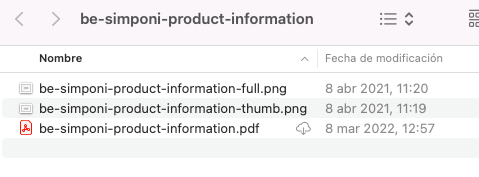
The .zip file which shapes the slide should count with:
- Thumb image in a png format. 200 × 150 size. File name example: be-simponi-product-information-thumb.png
- Full image in a png format. 1024 × 768 size. File name example: be-simponi-product-information-full.png
- PDF document. File name example: be-simponi-product-information.pdf
4. To generate this Presentation Slide in PromoMats, you should:
- Upload the mentioned .zip file
- Fill the metadata carefully.
- The original document should be related on “relationships – linked documents” (if the original PDF is living on Veeva Vault PromoMats)

- Do not include the “related shared resource” also known as the shared slide.
Include the slide into the desired Multichannel Presentations.

