Outlook Communications using Assembler Online
Assembler Online not only allows creating emails for platforms such as SalesForce Marketing Cloud or Veeva Approved Emails, but also is prepared to export to other platforms, as in this case, Outlook.
Creating an Assembler email for Outlook requires certain specific actions to make it work properly in the recipient’s Inbox.
Users can find this “Internal Outlook Email” Template in the Global Portal: HQ-NON-00685 and the related text collection “Internal Outlook Text Collection” ASSET-21013346.


Rule #1 Don’t make a copy each time you create an internal communication email
Internal communications usually don’t need a business or medical approval, consequently, is not recommended to create an email material each time. This way we avoid a collection of Email Materials that will remain forever in “Draft” status and could create inaccurate data in the dashboards.
To get started, make a copy of the “Internal Outlook Email” Template in the Global Portal: HQ-NON-00685, and Open with Assembler Online. Users will find four screens:
- The first screen COVERSHEET is a user guidance documentation which links to this article.
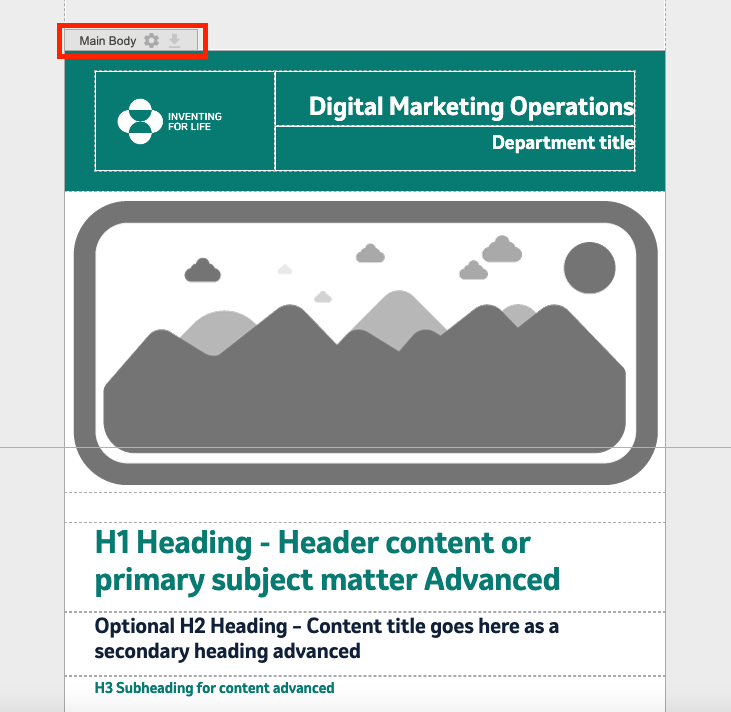
- The second screen SIMPLE OUTLOOK TEMPLATE is based on the original branding.merck.com outlook template.
- The third screen ADVANCED COMMS. OUTLOOK is based on a more advanced, non-linear design, such as: two columns or colored content blocks.
- The fourth screen USEFUL IMAGES will give you some options for corporate logos and icons.

Users can generate a new screen by clicking on “Add Screen”, and drag and drop the original email layouts from the Internal Outlook Text Collection into the artboard.
- If users are going to generate only one communication, use the given screens and add the final content.
- If users are going to create newsletters frequently, “Add screen” as needed, and drag and drop the several pre-build styled layouts to have a start point from the “Asset” Panel in the “Text collection” section.
Rule #2 Add your email content inside the “Main body” section
In the Assembler artboard, there are some sections based on the channel, in this case Email. A consideration to keep in mind for Outlook Emails specifically is that Outlook generates gaps between these artboard sections. Consequently, to avoid this behavior, users should place all content in one single section, preferably in the Main body section.

Rule #3 Background images don’t work
Don’t include any background image, Outlook doesn’t support background images.
Rule #4 Buttons require a workaround
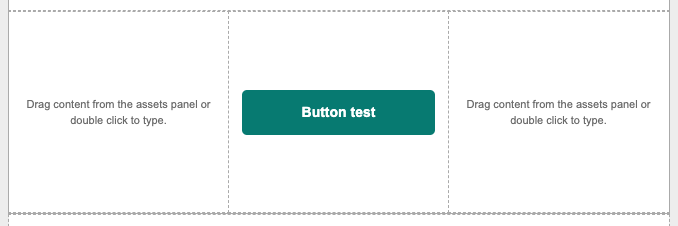
The buttons are an element available in the “Elements” panel. But for Outlook buttons have to be built in a different way: The button will be the entire cell instead of a button element. Let’s start creating a button by adding a three column Blank Layout, dragging and dropping in the artboard. Include in the middle cell a button element:

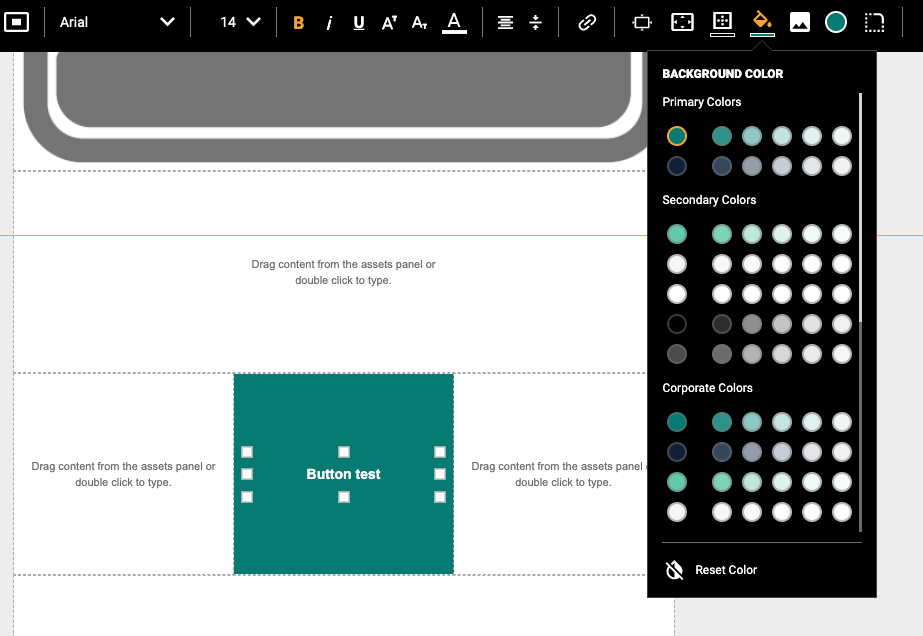
Now, reduce significantly the width of the button, making it 25px (This number is approximate, depends to other aspects like the font size or the font family). Reduce as well the size of the entire layout to 40px and include a 5px external padding in all sides.
Now, give the design you want: colors & borders. There’s only one rule, give the same color to the button element and to the background color of the cell. Lastly, include the link.


Important! In outlook, the links are underlined by default, remember to erase the underline style by selecting the text and pressing shorcut control+U or the underline style icon.
Rule #5 Open in your favorite browser, copy it and paste in a blank email
Please use the Browser Chrome or Edge for Windows. Use Safari for MAC.
Export your Email HTML package in Assembler, it will download an HTML .zip folder. Uncompress the .zip file and open the email.html with your browser in a new tab. Select all the content by pressing Control+A and Copy it with Control+C. Switch to Outlook and paste the email in a new blank email with Control+V.
Rule #6 Send a test email to your colleagues before sending it to everyone in your delivery list!
Nobody is perfect and it’s good to check one last time how it looks and how it works before sending the final piece.
