Translate using Assembler & an Agency
There are two translation methods: Manual translation “in line” and “.xliff” translation through a translation agency. We are going to focus on the “xliff” translation one in this article. Check the Manual translation “inline” here.
When we access to Veeva Vault PromoMats the first thing to do will be to find the Assembler ready material that we want to translate. (If you don’t have access to PromoMats make a request here).
There are several ways of searching in Veeva Vault PromoMats:
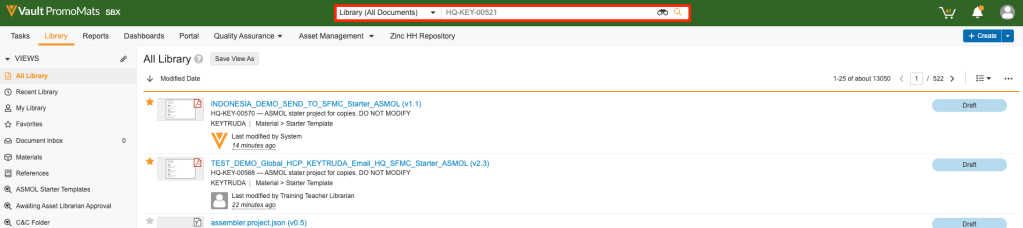
- We can type the Assembler ready material Document number in the top search bar looking for the material that we want to translate.
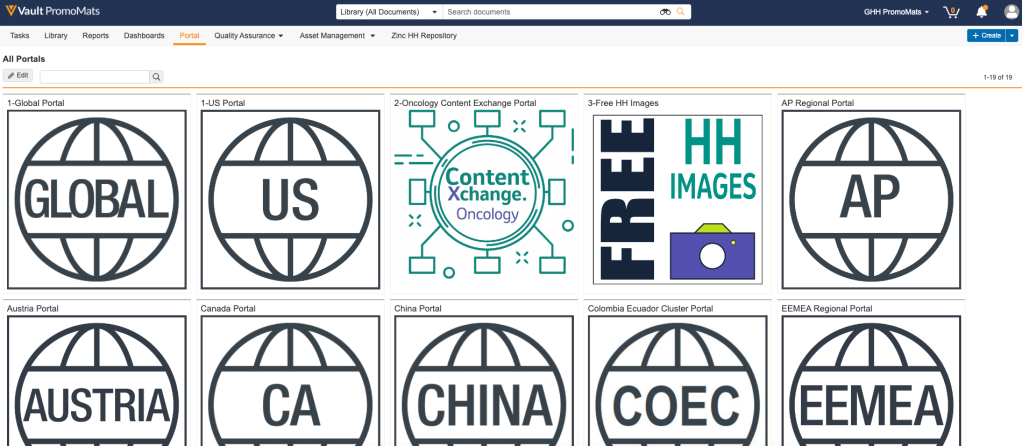
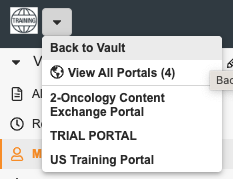
- If we are going to translate Global Content we can go to the Portal tab in the top menu and select the Global Portal.
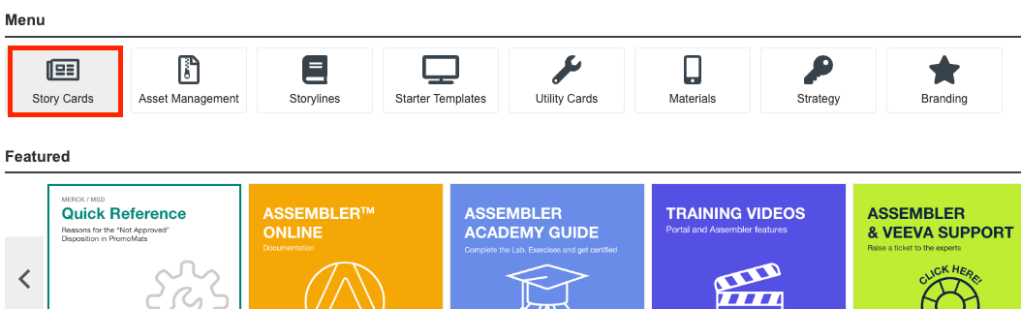
- Inside the Global Portal we will select the corresponding widget.
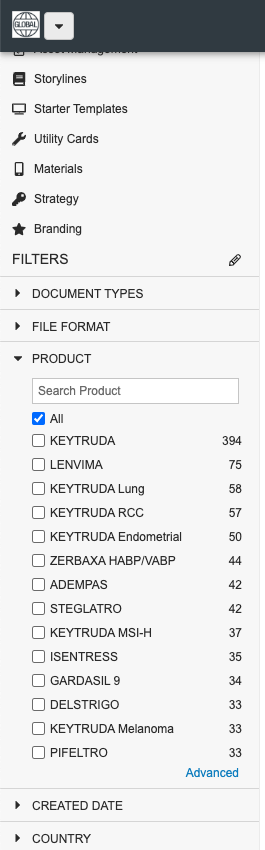
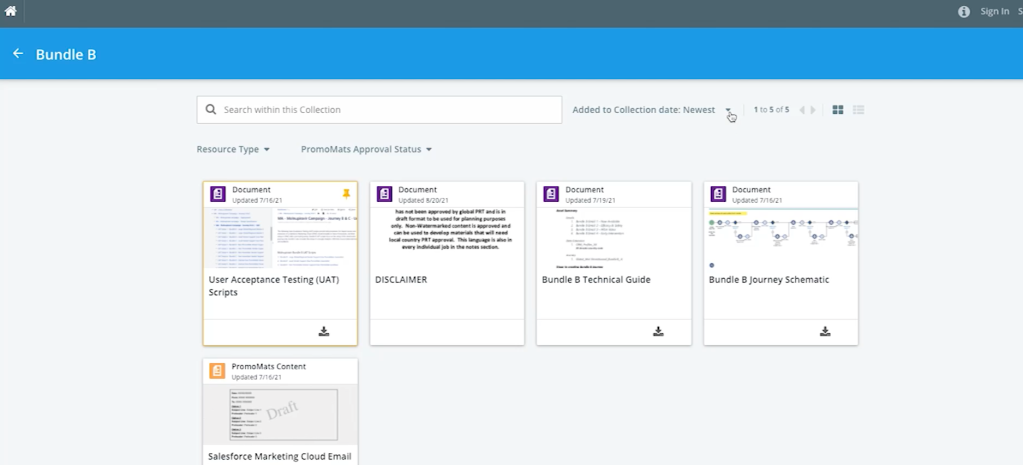
- In the StoryLine widget we will find the brand campaign organized by chapters in the modular way of StoryCards. Select your brand in the left panel filtering option “Product” to refine your search.
For launching products, the Global promotional team is offering together with StoryCards modules, finished promotional materials, such as Emails or iPad CLM presentations which are Assembler ready.
They can be easily found in KAPOST application, through a Campaign Bundle link provided by the Global team. Clicking on the selected material in KAPOST, will directly open the material in Veeva Vault PromoMats system.
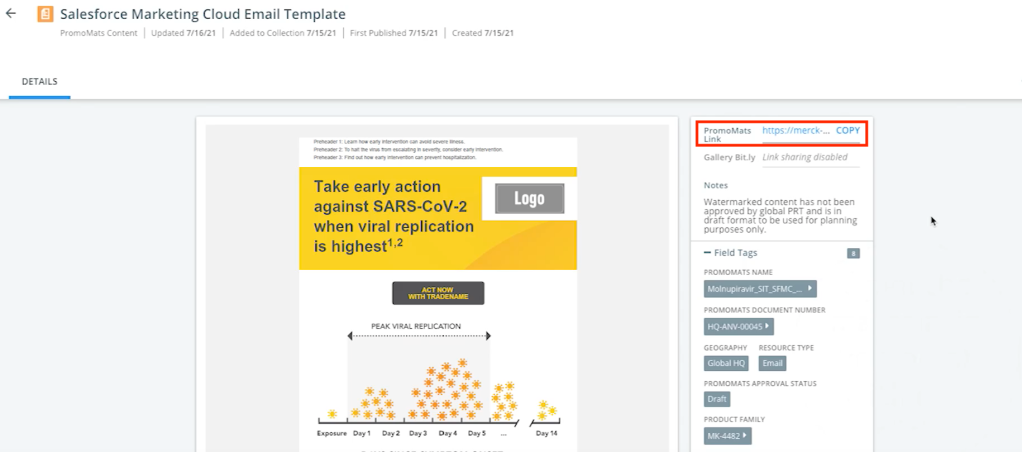
*NOTE: finished promotional materials Assembler ready, will only be available for launching products – as MOLNUPIRAVIR, KEYTRUDA ESOPHAGEAL etc. – Learn more how to translate and localize launching materials here
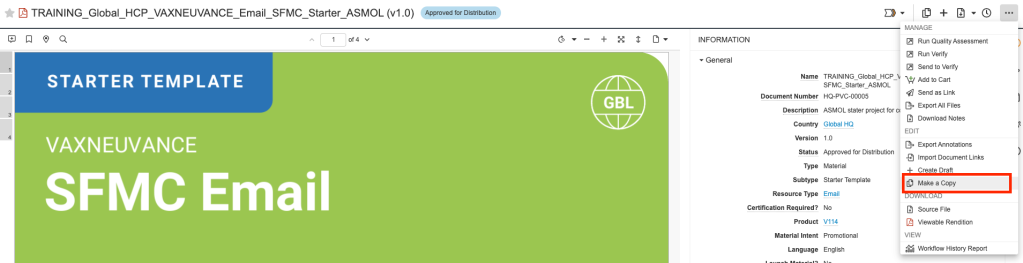
Make a Copy and fill in the metadata
Once we find the content we want to translate, click on the gear icon and select “Make a copy”.
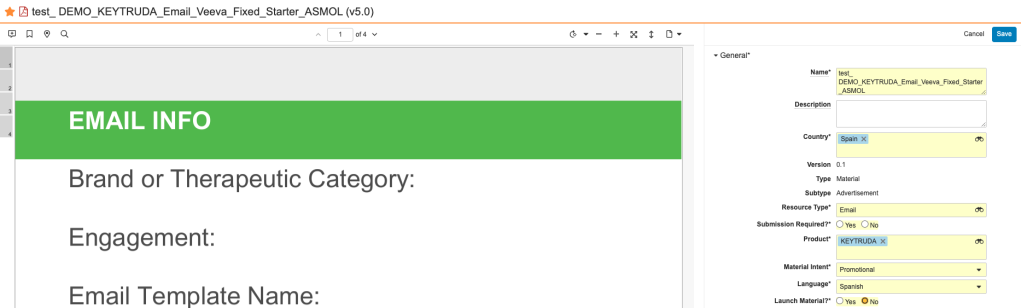
We will fill the name for our new copy and press “continue”. Then we will fill the metadata following our country requirements.
Keep in mind we will change the language field to the one we want to translate it to. Once the metadata is complete, we can save the copy.
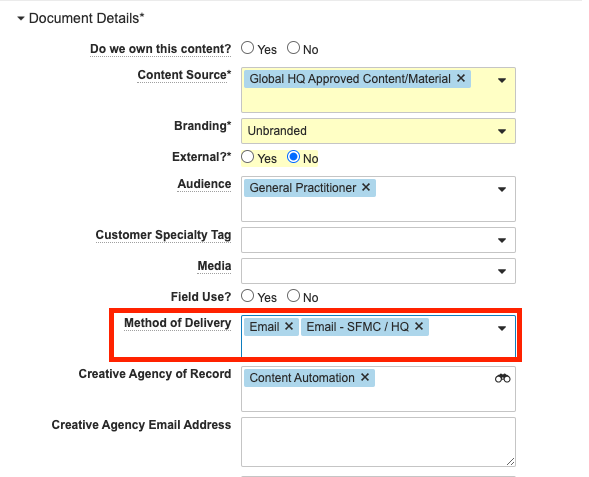
 NOTE: Keep in mind, if you are building a SFMC Email, and you would like to take advantage of the integration between PromoMats and SFMC, add as “Method of Delivery”: SFMC Email.
Take a look to all the Pre-Requisites in this article
Send the material to the Agency for translation
We will find our new copied material in the PromoMats Library / My Library. You can go back to the main page by clicking on the top left arrow next to the Portal icon.

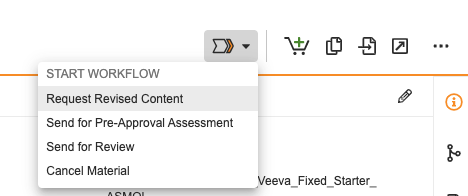
Now we can send it to our translation Agency through the “Send Request Revised Content” action, sending them a task via PromoMats workflow. We also recommend sharing the material with them, so that they can view the material independently of the task assignment for applying edits.


Translation Agency Agreements and considerations to keep in mind
| Action Required from the local market | Global translation Agency CQ Fluency | Local/Regional translation Agency & creative Agency if applies |
| Supplier relationship and PO created | X | X |
| Your country active in PromoMats with a review workflow | X | X |
| Request and complete Assembler training | X (Some Regional Agencies may have the Assembler training complete, like “Accenture Asia”) | |
| Request Country External Consumer role (local SPOC validation will be required) | X | X |
| Request Country Content Steward role (for a brand or a period of time – local SPOC validation will be required) | X | X |
| Request Country Asset Librarian role (for a brand or a period of time – local SPOC validation will be required) | X | X |
1) Working with a Global Translation Agency: CQ Fluency
Benefits
- Global Translation Agency “CQ Fluency” is available in “Ask Polly” service
- Global Translation Agency “CQ Fluency” can apply translation to texts, images, add local edits and annotate.
- Global translation Agency “CQ Fluency” is already trained in the use of Assembler
- Global translation Agency “CQ Fluency” has extended Global roles in PromoMats
2) The Translation Agency work: Translating using Assembler “.xliff”, local edits & annotations
Open the material in Assembler to start the translation
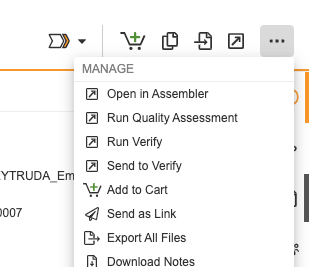
When the agency opens in full mode our copied material, they will see in the three dots icon the option “Open in Assembler”.
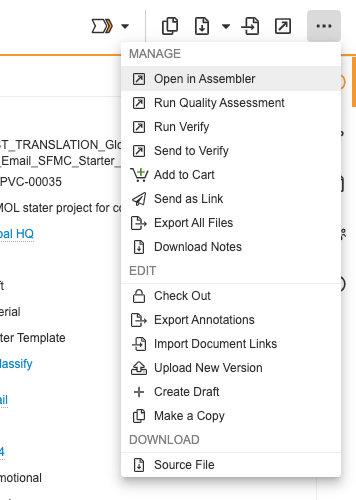
When the translation agency clicks, Assembler will open in a new window tab. (Please allow the Pop Up windows in your browser for Chrome or for Safari)
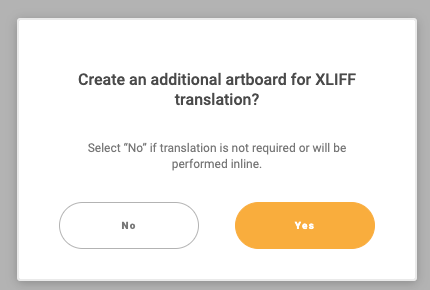
We will first see a a pop up, asking if we want to choose the translation function “XLIFF”. In this case, as we want to translate it using the .xliff function, we will choose “YES”.

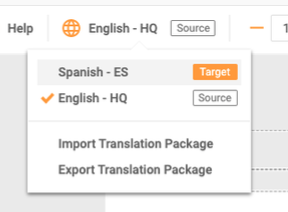
Once in Assembler, we will see two language view options in the upper menu: Source and Target.
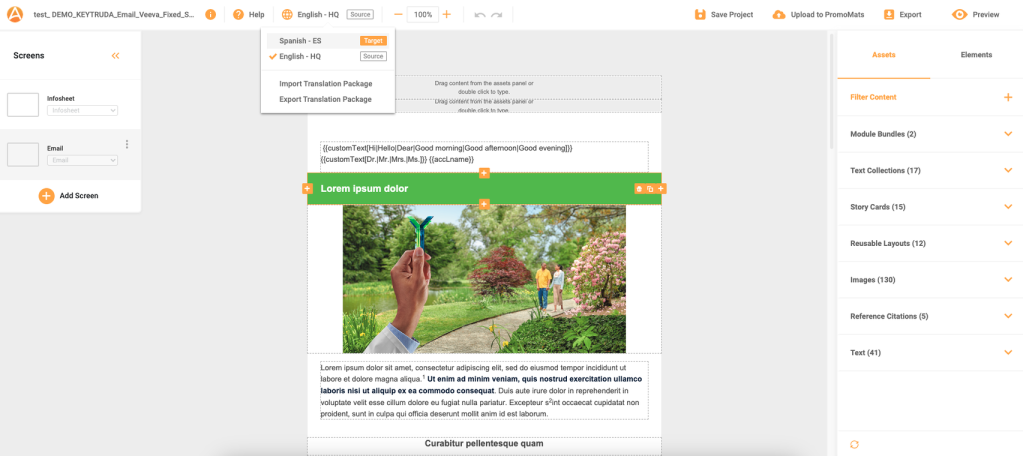
Click on “Export Translation Package” to download a .zip file with all the necessary files to be worked on the most common translation softwares (such as “Trados”).
Working with the .xliff file translation
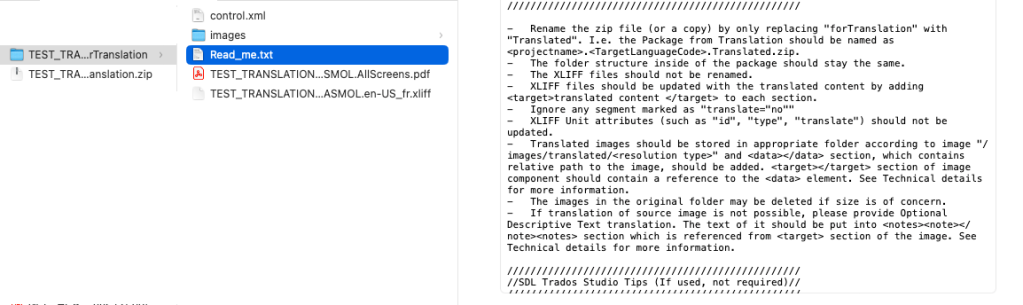
Both, images and texts, can be translated using the translated package files:
- The .xliff file can be opened in translation softwares as it is the industry standard format (such as “Trados”).
- The images files are also included, with high resolution format, to be edited in design softwares as well (such as “Illustrator” or “Photoshop”) and linked back in the .xliff file.
Follow this .xliff instructions to work with this standard file format in your translation and design softwares.
Once the translation agency has completed the translation of the files. They can “Open in Assembler” again.
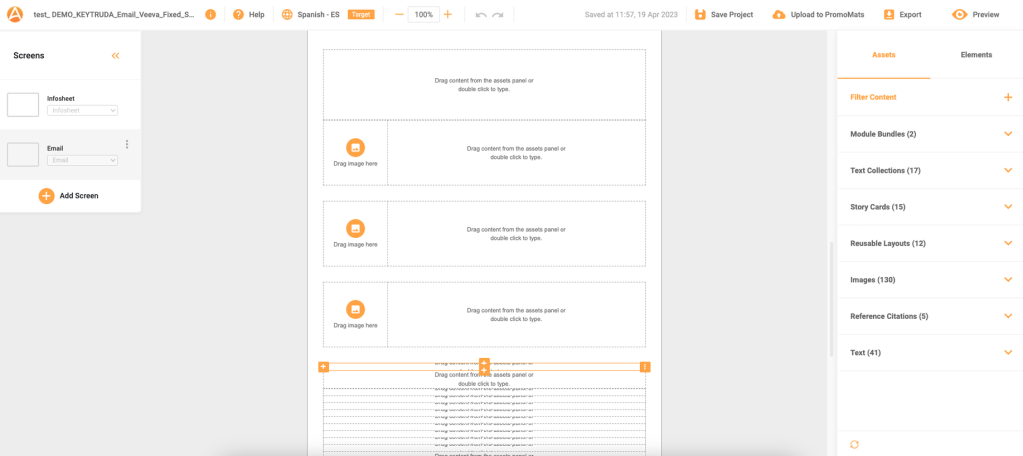
They will see that “Target” view is empty. The translation agency will click on “Import Translation Package” to upload the .xliff translated zipped file.
The “target” view will now show all the content translated in the screen, with the benefit that the styles and layout will be retained.

If our local translation agency doesn’t have in their scope to translate images, they can add an image note description, either in the .xliff file or directly in the Assembler artboard, adding a new cell.
Adding local edits in Assembler: Drag and drop local Email footers from the Text Collection section
Once we have translated the content, we have to add small local variations to adapt the material to our market. Such as Email footers, Veeva tokens and SFMC personalization strings etc. We can request our agency to add those local edits in Assembler as easy as dragging and dropping them in.
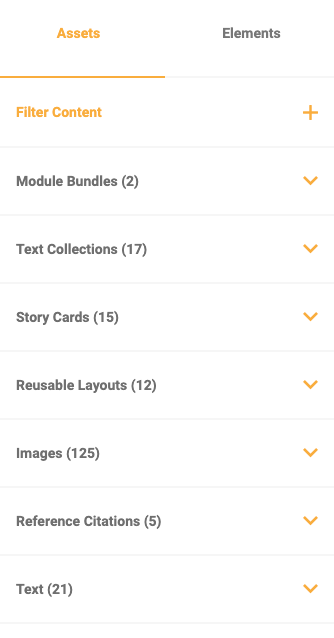
The agency will click on the orange arrow next to Text Collection section. Look for the specific country and click on the orange arrow. To see a full view, they will mouse over the thumbnail and click on the eye icon.


When ready, drag and drop it into your central artboard.
NOTE: Double check with the job owner the right links are included. (the job owner can decide to request later to the Digital Publisher to add them in the Email sending platform of choice).
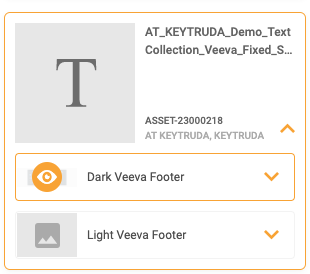
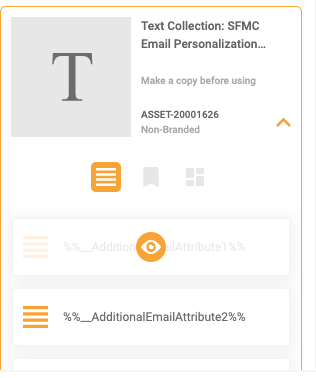
Follow the same process for the other Text Collection types: Veeva tokens and SFMC personalization strings
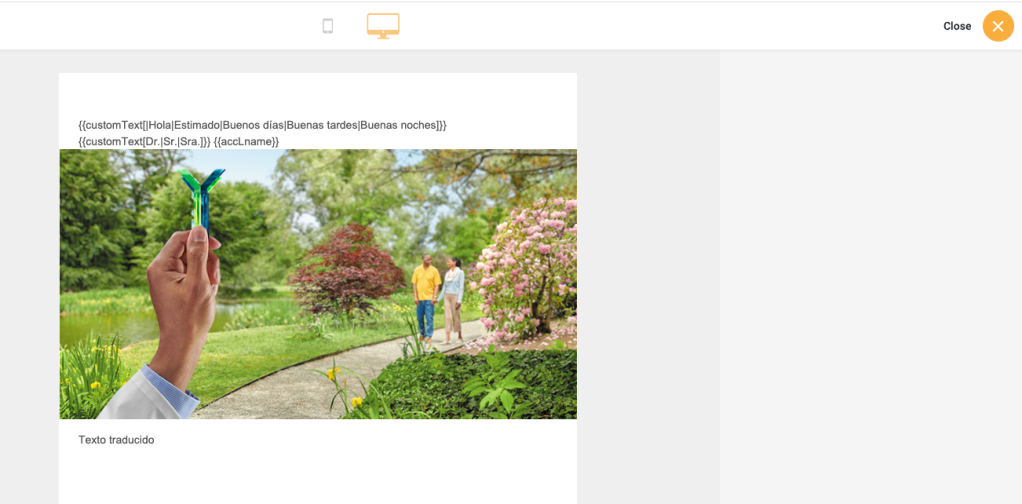
Once the translation is completed, you can check how your material looks like using the “Preview” mode.

Finishing up the translation
Last task will be to Save and “Upload to PromoMats – Ready for Review” checking the “Translation Complete” option.
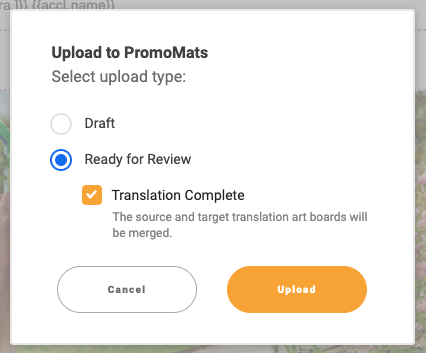

Complete version control when Uploading to PromoMats:
- “Save Project” button only saves the last modification in the user’s cache browser.
- Upload as a Draft: Selecting the “Draft” option will save the current Assembler project (.json Component) version in PromoMats with the files and images used. This option is helpful to keep the progress, allowing users to save as many project versions as desired during their work day, to come back to a previous stage if needed.
- Upload as Ready for Review: selecting the “Ready for Review” will create and upload a new material version, creating an HLTM package file automatically and establishing the preview PDF as a viable rendition. Choosing this option doesn’t start the approval process but prepare the material ready to be moved to the next step.
Annotations and references
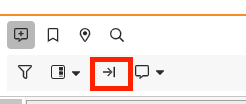
The local promotional materials can re-use the global references “bringing the Annotations forward” using the two sheets icon or Importing document links function from the three dots icon.

Then you will need to link the anchors to your local claims. Learn more in this article
Completing the task assigned in PromoMats
Once all the requested tasks are completed: translation, local edits and annotation, the Agency can click in PromoMats the top banner and “Complete” the assigned task.


The Job owner will need to “Complete” the request from the top banner as well.
3) The Design Agency work, only if applies:
If your local translation agency doesn’t have in their scope translating images, applying local edits or adding annotations, you can also involve your Design Agency or others to the Assembler workflow. (We recommend you take a look to the Global Translation Agency benefits above, to simplify your process).
We will open in full view our translated material and we will send it to our Design Agency through “Send Request Revised Content” action, to send them a task via PromoMats workflow. We recommend also sharing the material with them, to view the material independently of the task assignment for applying edits.
Design agency opens the material in Assembler to add translated images
When the agency opens in full mode our copied material, they will see in the gear icon the option “Open in Assembler”. Having the PromoMats Content Steward role extended, as mentioned above, will be crucial, as several agencies are collaborating, editing the same file)

The Design Agency will see the Asset number of each image in the Assembler Asset Panel. They can search it in PromoMats by the Asset Number using the top search bar. Open the Image Asset in full view and download the source file clicking on the top right source file icon.


Once the image is translated outside Assembler in a design application (such as Photoshop or Illustrator), you can add the translated image back in Assembler using the “Add an image” button, at the right Asset panel, in the Image section.
Select the image you want to use from your desktop and include the “source” and the “low” rendition images. Then classify them accordingly.
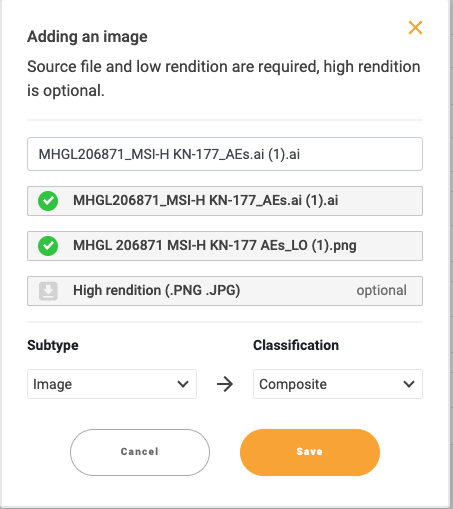
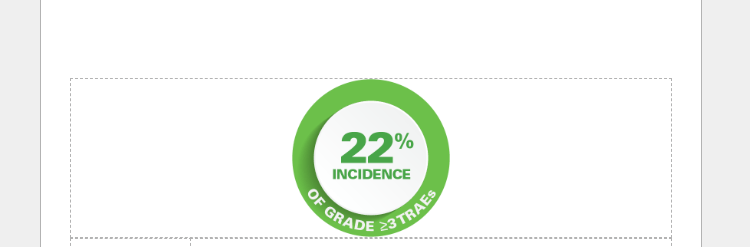
Save the image, and the new image will show in the Asset Panel under Images section, ready to drag and drop on the appropriate cell of the material.

Once that the translated images are added and local edits applied in Assembler, it’s time to finish.
In the upper menu, click on “Upload to PromoMats” and choose “Ready for Review”
4) The Digital Publisher work, deploying in the delivery platforms: SFMC and Veeva CRM
Veeva Vault PromoMats is integrated with SFMC platform and Veeva CRM.
For Veeva CRM: once your Veeva Approved Email or your iPad Presentation CLM is Approved, you can directly export your HTML package from Assembler and/or Veeva Vault PromoMats to do the publishing steps and synchronise to Veeva CRM your production files directly from PromoMats. Learn about the complete publishing process here.
For SFMC: once your Email material is Approved, you can use the direct function in Veeva Vault PromoMats “Send to SFMC”. Learn about the complete publishing process here.