Create a Binder

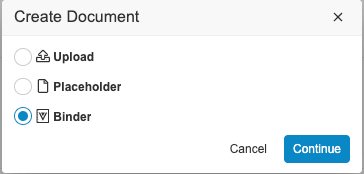
From Veeva Vault main menu, press “+ Create” button and select “Binder” option.


Choose the binder type, then press “Next” button.


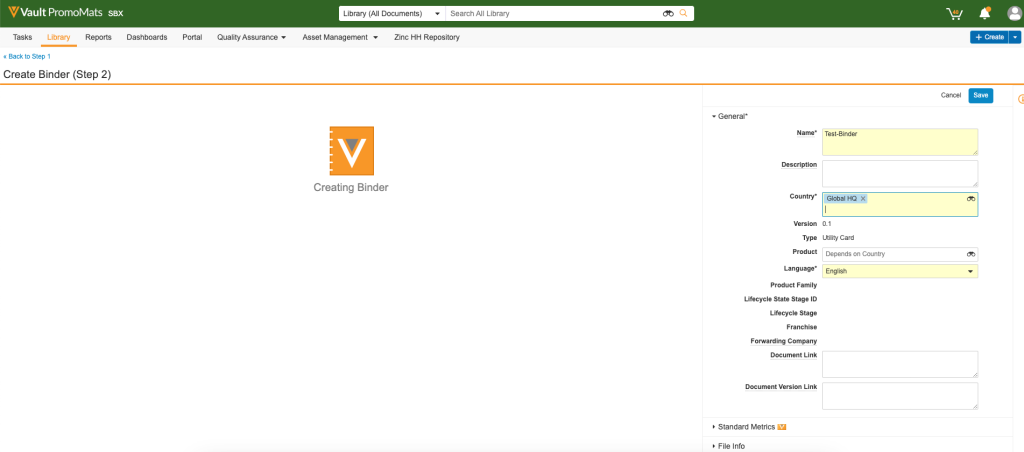
Fill in the metadata and press Save.
Notes: Product field is not mandatory, but if you don’t select a Product when using Product filter the Binder won’t show.
Create the Subfolders inside the Binder
Now is time to add the Chapters of the Binder. To do so, press “Edit Binder” button.


New edition possibilities will show: select “Add” button, and chose “Section” option to create a new Subfolder. 
Notes: You can use the “outline” view mode, so you can have a better understanding of the structure you are creating, and when pressing enter button in your keyboard next section will be created directly. When finished press “Cancel” for the last section.Create Child Subfolders inside the binder
To create a Child Subfolder, select the particular Subfolder. A “gear icon” option will display. Select from the drop down menu “Child Section” option. Name your Child Subforlder and press enter in your keyboard.

Add Documents inside the Binder
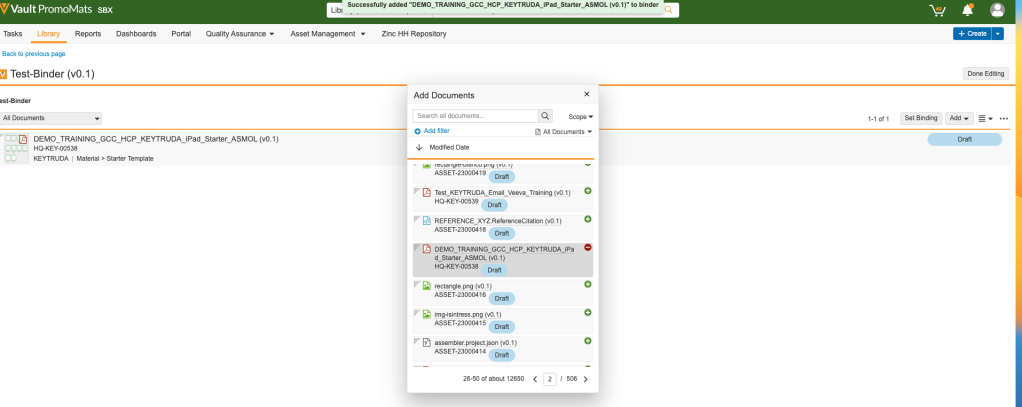
Now is the moment to add the Content. Select the “Add” button at the top of the binder, and select “Existing Document” option or “Upload File”.


A pop up will display, you must search the particular Document, previously created in PM or from your computer.


Once is included in the binder, you must drag it and drop it inside the corresponding Subfolder.
Add a Tile for the binder
The image tile for the Binder needs to be .pdf format. Select the “Add” button at the top of the binder and select “Upload file” option.
You must tag the .pdf as “Component/ Image”, the metadata is already included for you. Then press “Save” button.


Last and very important step: you must move the tile in the first position of the binder dragging and dropping.


Finish binder
Once all the steps to complete and the Binder is done, press “Done Editing” button at the top.Approve the Binder and Tile 
Keep in mind you must “Approve for use” the Tile as well. To do so, select the “gear icon” next to the Tile and “Send for Asset Librarian Approval” or “Approve it for use”.


You also must “Approve for use” the Binder itself, once is finished and completed. To do so select the top right “gear icon” at the top and “Send for Asset Librarian Approval” or “Approve it for use” if you have the permissions.
